
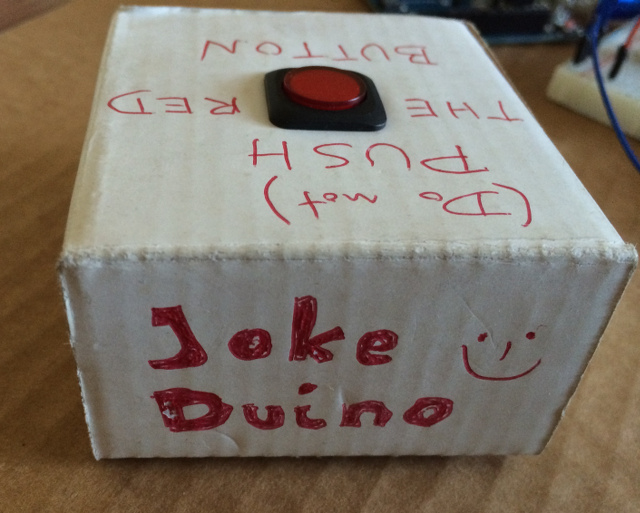
What is JokeDuino.
JokeDuino is an Andruino based device for jokes and pranks.
How it works
It can sense the sorrounding evironment and generate weird sounds at the right moment in time.
See how to make a mosquito prank with JokeDuino ;-)
Check the available prank sounds:
| Mosquito prank | |
| Squeaking Door prank | |
| Crazy dog prank | |
| Crazy cat prank | |
| Police prank | |
| Ghost prank |
How to get one?
Currently the only way to have one is to make it yourself.
If you love hacking with hardware as we do you can build one yourself by following documentation on this page (scroll down) and github.
Everything about JokeDuino is opensource - the goal is simple make a lot of pranks ;-) All needed instructions are on this page and on github.
We are planning to make ready to buy JokeDuino kit. However to do it we would need funds - we are thinking about launching a campaign on kickstarter or indiegogo.
More about this soon ...
Help us by sharing our page via:
======= Instructions how to make it: =======
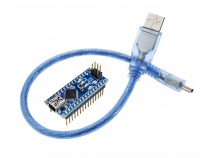
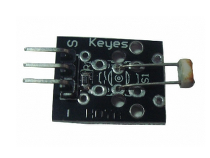
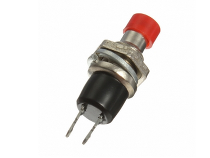
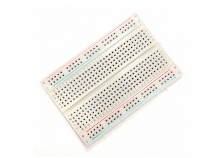
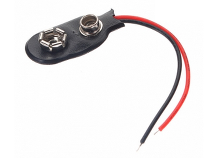
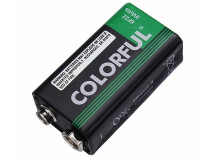
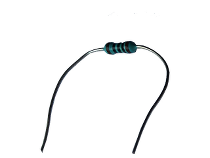
1) List of things you will need:


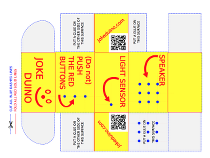
2) How to make a paper box
Pdf files with box template can be downloaded from github. Remeber when you print a template choose "scale to 100%" option to make sure JokeDuino box has the right dimentions.
3) Prepare parts, do a bit of soldering:
Before connecting everything together you will need to prepare some parts and solder some wires.
4) How to connect all electronics:
In the video below you will see how to connect all elements together.
The connection drawing is coming soon ...
5) How to prepare memory card:
To prepare memory card format it as MS-DOS (FAT16).
Once formated download or clone JokeDuino project from github and copy all files from memorycard folder to memory card.
6) How to upload JokeDuino sketch code:
When everything is connected is time to upload the code to Arduino.
Connect the Arduino board to your computer via USB cable.
Take the
latest sketch code from github
and upload it to the Arduino board.
If you do not know how - the video below should help.
7) How to assemble everything together:
See how to place it inside the box when everything is connected.
======= Troubleshooting / FAQ =======
Comming soon ...
Support or Contact
Contact us via
Twitter or our pages on
Facebook or
Google Plus
or via email 
You can also donate at gratipay.